
Understand the process of creating exhibitor users in the FFAIR portal using the FFAIR API, and setting up SSO for the exhibitors.
1. Enabling API & SSO Integration
To get started with API and SSO, enable the integration in your FFAIR Organiser Portal:
- Log in to your FFAIR Organiser Portal.
- Select the required show from the "Shows" page.
- Navigate to "Show Settings" from the left-hand menu.
- Go to the "API & SSO" section on the settings page.
- Toggle the blue switch to enable the integration.
Once enabled, the API functionality can be used to create, update, and retrieve exhibitor data, while SSO ensures seamless login for exhibitors.
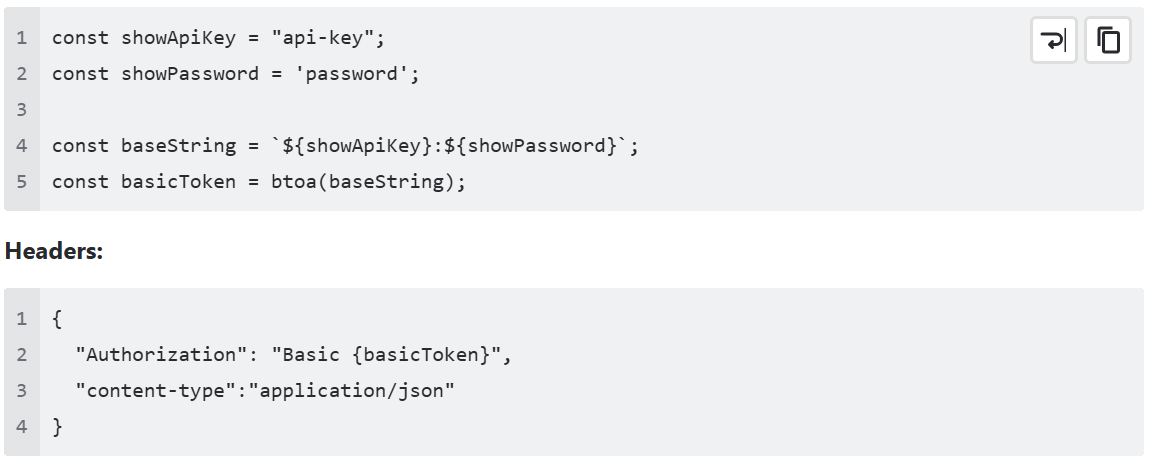
2. GET AUTH TOKEN (GET)
https://us-central1-ffair-live.cloudfunctions.net/endpointsSSO-getAuthToken
3. CREATE EXHIBITORS
The both update/create exhibitors use the same cloud function endpoint:
https://us-central1-ffair-live.cloudfunctions.net/endpointsSSO-createExhibitors

Create/Update Exhibitor request example:
Note: companyName, standName, contactEmail fields cannot be changed.
Note2: exhibitorId should be used when creating a new Exhibitor.


GET EXHIBITORS
https://us-central1-ffair-live.cloudfunctions.net/endpointsSSO-getExhibitors


See our documentation here: Public API * SSO